Friday, August 28, 2009

Shooting 35mm in HOLGA 120FN

It was 2 weeks ago that I was looking at stuff on the website of www.lomographyasia.com, trying to find a lomo camera for my girlfriend, I ran into this thing called HOLGA 35mm Film Adapter.

Pretty crazy, isn't it? And actually it's a really good thing to have, especially when I'm having so much financial trouble preventing me from shooting medium format everyday now.


So, I tried to ask a friend in Hongkong to help me get it. But a few days later, a question poped up in my brain "So... how am I gonna rewind the 35mm film roll... without a film rewind crank???" ... cause I noticed there is no film rewind crank included in the package of that Adapter from the Lomography shop.


I got online to search for the answer, and the answer is that there's no way you can rewind the film roll. You have to take the film roll out of the camera in a complete dark-room, and then rewind it with your hands.

Though quite disappointed, I accidentally found out this very awesome link about modifying the 120 HOLGA to shoot with 35mm film.

You don't need to have anything but a roll of black tape (the thicker, the better), some small pieces of foam, some small-size rubber bands, and that's it.


Not until a few days ago, did I start to modify my 120 HOLGA. I'm not gonna re-show all the process of modifying the HOLGA and how things are gonna work, but this picture below shows how did I modify mine.


Please read the link above, or at least the video in the link, so that you won't get confused about what I'm gonna talk about next.

So as you see in the picture, I've got blue tape instead of black, since I don't have black tape at home (and this is a mistake that I made, to know why, see below). I've got cotton-wool wrapped around by tape to use as foam pieces (that works out fine, I promise). And a pencil to help me with adjusting the rubber bands on the film spool.


I did everything following the directions in the videos and put a 35mm DNP CENTURIA 100 roll inside for a test.


The DNP CENTURIA 100 was a strange kind of film that I've never saw or heard about, it was a gift from the owner of the photolab where I always stop by for developing and scanning my film rolls.


For the whole story about that and the owner of the best photolab in town, I guess I'm gonna have to write another post later.


Back to the experiment of modifying my 120 HOLGA. Everything was in the right place and worked out well. It took me 2 days to finish the testing roll, there was no trouble shooting... until I finished the roll, had it developed and scanned.


Also, If you wanna know, this is how I take the film roll out and rewind it, not in a dark room, but in a dark box.


The owner of the photolab let me use it when I said I just couldn't wait to see the pictures from this experiment film rolls, I didn't wanna get home and get into my bathroom to do it, cause it would take another 1 hour driving from downtown to my house and all the way back to scan the film roll.


Let's take a look at the photos. Since it was a 35mm roll inside a medium-format camera (with 6x6 mask), the images also appear on the edges of the film roll where the film perforations are, creating "sprocket hole photography".


I asked the people at the photolab to scan the roll with a medium-format scanner so I can get everything, cause if you scan it with the normal 35mm scanner, you will lose the edges.


As you see, nearly all the photos have a big red square on them. It is the light-leak from the red frame-counting window on the back of the camera. It appeared cause I didn't cover it with thick and black tape, actually I did, but with blue tape, so the strong sun-light could still go through, not much, but enough to screw up the photo.


And this is how I fixed this problem, I had a really thick piece of black carton taped onto the back of the HOLGA, also a click-note is attached so when I finish a shot, I can tick on it.


... (a week later)...


And this is the shots coming out from the 2nd film roll... the carton piece works!!! :)


But still I've got some wrong-white-balance shots, which I decided to transfer into B&W to make them look a bit better...


I've got a trip to border of Vietnam and Cambodia last weekend...


And so... that's it... it took me an hour, some tape, cotton-wool and 2 film rolls to carry out a successful experiment which helps me on saving so much money from shooting medium format with my HOLGA, and also, this 35mm-panoramic frame is insanely inspirational!!!... :)

Tuesday, August 25, 2009

Efiniti UXi Super

Some people sent me messages and asked about my favorite film type, and since lazy as I am, I'm writing this down just to have something to "copy & paste" for replying... :P


Sunset on Long Bien bridge, Hanoi - July 2009.


Appeared on the film market in town about 4 months ago, this film type really caught my eyes with its uniquely designed box, at the photolab downtown where I always stop by for film rolls and batteries.


It is called Efiniti UXi Super, comes with ISO 100 and 200, as I know. A pretty funny facts about this film type, you can hardly find any info about it online, except this link.


Some people said it's the replacement for the Konica Minolta film, which has disappeared for quite a long time from the film market in town.

I decided to buy one roll and used it for an walk-around-shooting day with my friend, Jake Catlett, an American landscape photographer based in Vietnam.


Jake Catlett - Saigon, June 2009.


The result really satisfied me, so badly. After 1 year of shooting in 35mm format, I finally find out my favorite film type, which started to change every single frame I shoot from that moment.


The more I shoot, the more I enjoy the medium-saturated colors, the high contrast and the very good sharpness of this film type.


I'm not a film-expert nor a master photographer, so I can't say too much about this, but the truth is, this is the best film type that I've ever used. And there is nothing that I want to complain about a film type that just costs me 20.000 VND/roll (about $1.2 US) .


Some of my best photos with Efiniti UXi Super ISO 100.


The first few photos are about to show the very well-saturated colors in general.


Bedroom - Saigon, July 2009.


My girlfriend - Sapa, July 2009.


House - Sapa, July 2009.


My girlfriend - Sapa, July 2009.


Park - Beijing, July 2009.


Dancing - Beijing, July 2009.


Bus - Beijing, July 2009.


About some very remarkable details of this film type.


My dad - Beijing, July 2009.

At f/1.4 with my Minolta X-700 and Minolta Rokkor MD 50mm f/1.4 lens, you can check the amazing sharpness of this picture by viewing it in full-sized.


Plastic fruit - Saigon, June 2009.

At f/1.7 with my Minolta X-700 and Minolta Rokkor MD 50mm f/1.7 lens. Check the sharpness here.


My girlfriend - Hanoi, July 2009.

100% crop from this picture, you can see the blue sky and the sun-set deep inside her eye. Amazing?


Actually, the quality of the lens also affects the picture quite a lot, but well, as long as you have a good-condition lens, it's the film we're talking about.


So, I guess that quite enough to show why I love this film type so much like that. But please remember this, since it is film, the developing and scanning affect a lot to the colors and the quality of the pictures. So make sure you have a good place for those work, or else, I'm not sure whether you'll get what you want.

For example, I have the same film roll scanned in 2 different photolabs in town:


At one of the best and most expensive lab:


At another lab which is twice cheaper to have a film roll developed and scanned:


Yep, the picture was totally screwed-up.


For more pictures from this film type, you can check out my flickr page, I have created a set of Efiniti UXi Super.

Monday, August 24, 2009

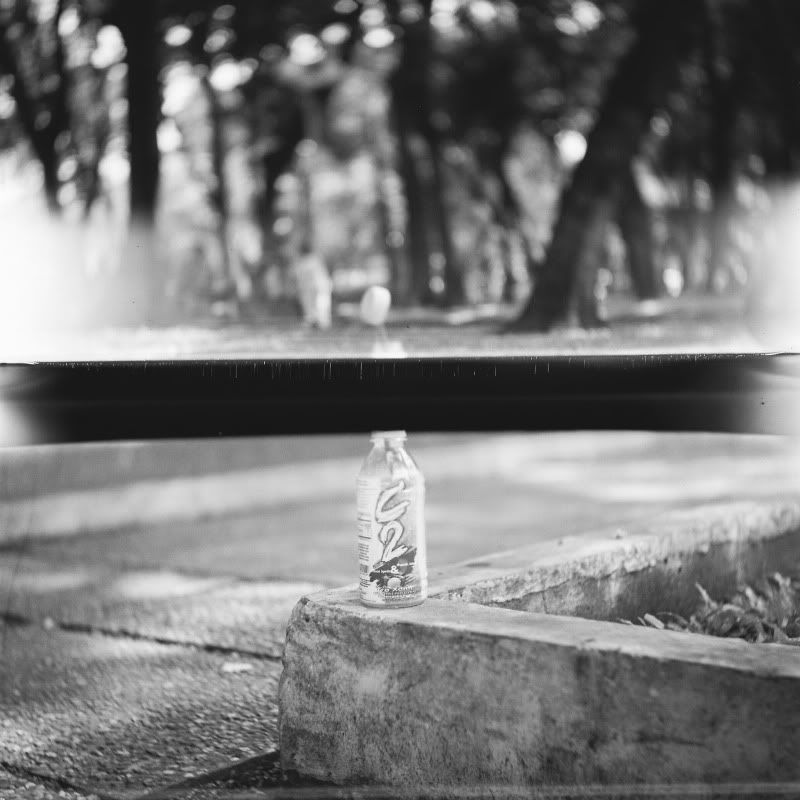
Light-leak Bicyclette


So this is my first post for my blogspot page, I was a bit bored at 2.00 AM so decided to have some more fun by created a blogspot page and a Twitter page...

I'm feeling good to have this created, since Yahoo! 360 closed down, I hardly have any place to write down anything I want... now I do, hah. And sure, this blogpost is gonna be mainly about my photography work and experience.


Sorry that my first post was copied from my latest photo's description on Flickr, but since it's a great experience I've just gained from my photography experiments recently, I wanna share it.


It was a week ago, I accidentally figured out how to have light-leak on my photos (with a TLR Yashica-A).


I've got a TLR Yashica-A about 2 weeks ago, and it is a really remarkable turning-point in my photography life, if you wanna know more about my story with this camera, this is the link.


A TLR Yashica-A | photo from MobileBurn's photostream on Flickr.


So, this is how to have light-leak on your photos.


Load a film roll into your camera, then just wind it over to the end of the roll (without shooting any shot). After you've finished winding all the way to the end, the roll now will be in finished condition (sorry my English is bad), unload it, swap the spools as if you're about to load a new roll, then re-load the film roll and do the winding once again, without shooting, yep (this is to bring the roll back to the un-used condition).

Finished? Do it again (this is the last time, I promise). Unload the film roll (after finishing winding it again, you'll see the film roll now looks like a new, un-used roll), swap the spools and load it in again, and now you can start shooting.


As being winded up over and over again before exposed for 3 times, the film rolls will somehow be damaged and create some light-leak, even some double exposures, and frame-cut. (light-leak surely will happen to the last 2 frames, not sure about the rest).


* Take look at what happened to an unlucky frame, from the same roll


Hah!... I'm falling more and more deeply into doing photographic experiments... last night I stayed up until 3AM to modify my HOLGA 120FN, loading 35mm film into it as this very useful direction on YouTube.

I was successful with that, but this morning I didn't have a chance to try shooting cause I didn't wake up until 11.30 AM ...


So it's also another photography experience (more about personal, I guess). Take more care of yourself than your photos.